
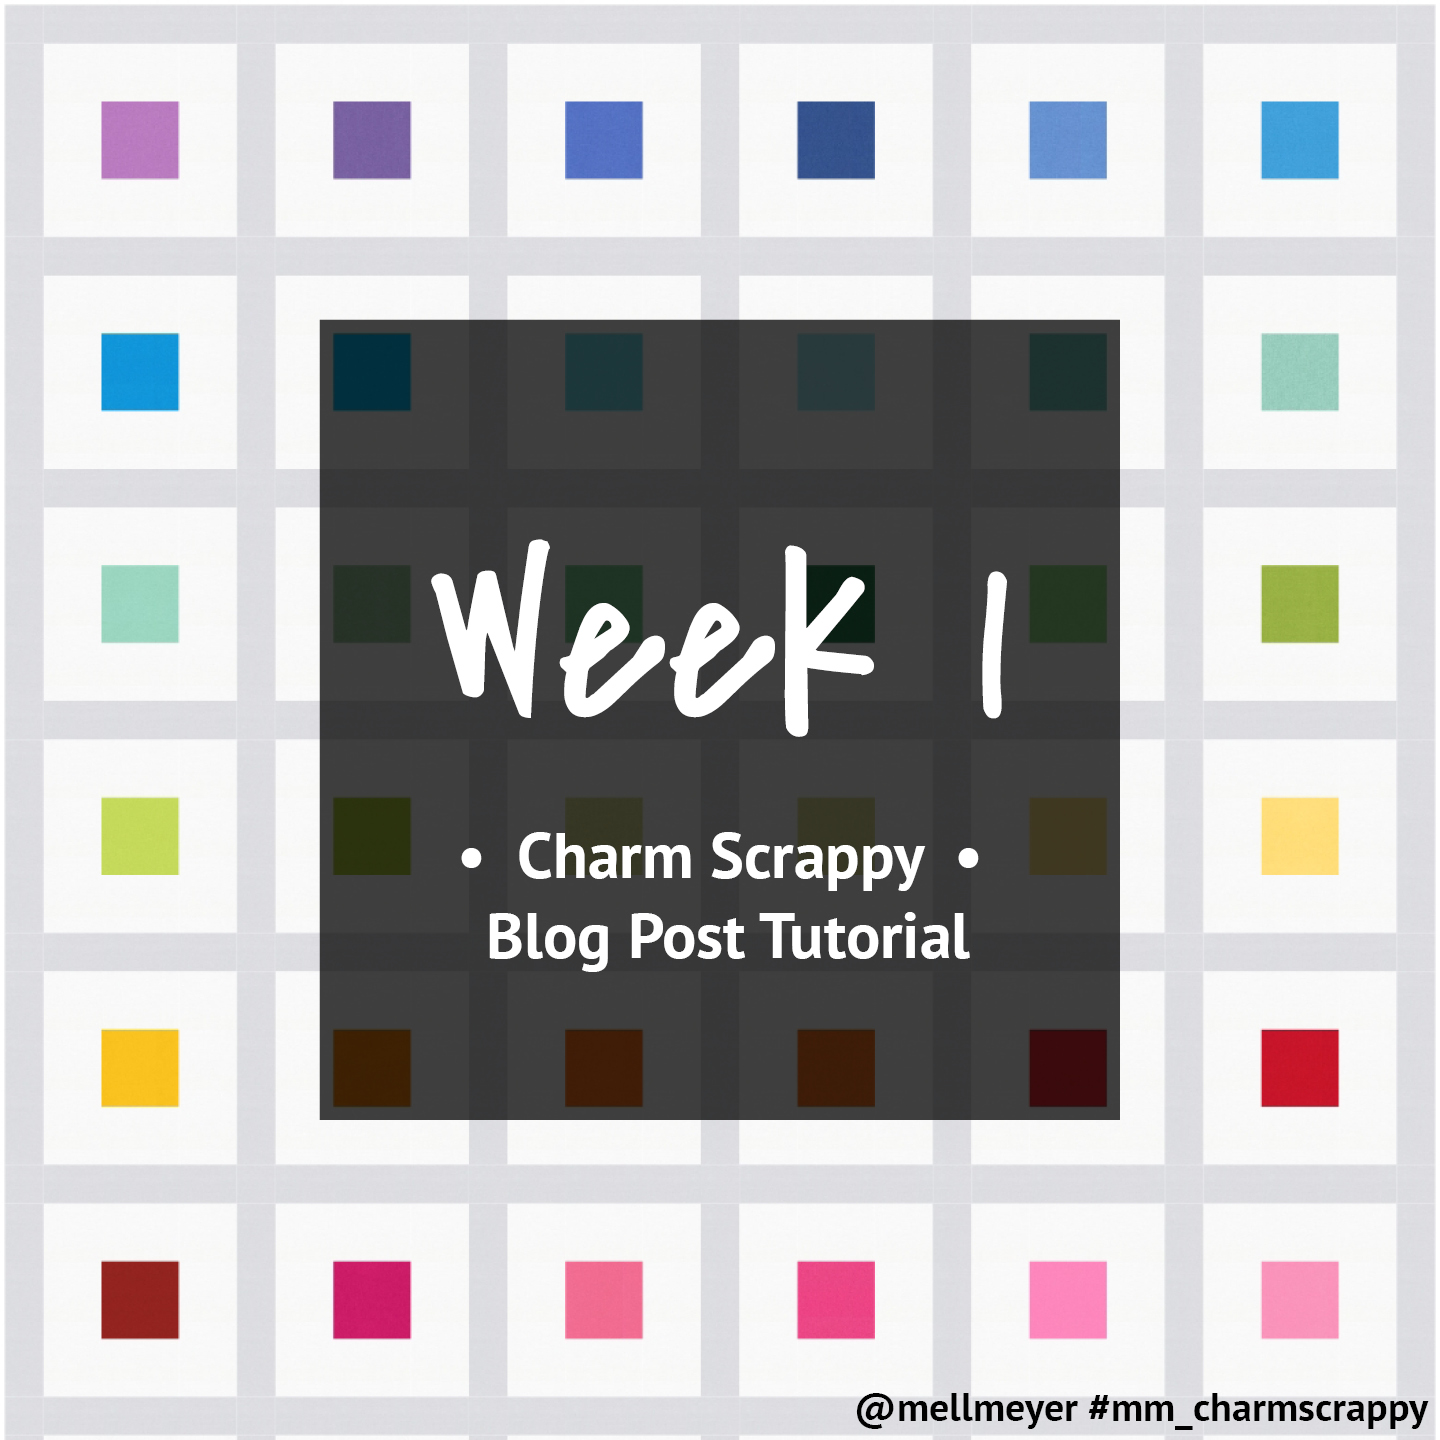
Hello! Per vote on Instagram you wanted the tutorial to be available on the blog. So here we go! It is my first time writing a tutorial (series) so if you have questions or suggestions, please jump in.
But now let’s go and have lots of sewing fun!
Intro
More about my inspiration
Charm Scrappy was inspired by my quilty friend Kirstin @augusthimmel. She made a quilt using a charm pack and lots of scraps. This is my version of charm pack meets „scrap fabric“. I love the fusion of highlighting your favorite charms while in the process using up a few of the scraps we all collect.
During the tutorial series we will discuss how to sew the blocks and of course also talk about the cutting and sewing of the sashing.
Today is part one and we will start with the preparations like supplies and fabric requirements. Then start sewing our blocks and figure out how to trim them.
Numbers
Size, Supplies & Fabric Requirements
Skill level: Beginner
The block in this pattern is very simple and also very forgiving as it is supposed to be built from „scrap fabric“. Only basic patchwork and quilting techniques are necessary.
Size
The pattern design quilt is a finished size of 74″ x 86″. The layout uses 42 blocks as that is a common number in charm packs. Each block measures 10.0″ finished. The sashing and border are both 2.0″ finished. But you can easily make the quilt bigger or smaller by adding or subtracting blocks.
Supplies & Fabric Requirements
Normal sewing supplies for patchwork and quilting. No specific supplies needed!
Unless otherwise specified, yardages are based on fabric at least 42″ wide. And the yardage for the backing is calculated with a simple vertical seam.
Blocks:
1 Charm Pack with 42 preferably different fabrics OR
42 squares from our stash that you want to highlight (block center)
Lots of scraps (block ring)
Other:
Sashing/Background fabric: 2-2 ¼ yards
Backing: 5-5 ¼ yards
Batting: min. 78″ × 90″
Note:
Because the quilt is – besides highlighting your favorite charms – a scrap busting project, it is impossible to give measurements for the scraps. But as I love overthinking and math, here is an attempt :)
A yard of quilting fabric weights about 5-6 oz. So we will be calculating with the average of 5.5 oz. If we were to cut the pieces from normal yardage we would need 3 yards. Guessing we will „lose“ about half of our scraps in the additional seam allowances and trimming, that would mean 33 oz, a good 2 pounds of fabric!
And for the metric people like me that would be about 900 g to a kilo.
But no guarantees :)
Block
How to sew the blocks
The construction of the block uses the improv technique. So I cannot give you an exact way of how to proceed. But I will try to describe the basic idea and give you lots of pictures from my finished blocks and graphics. I hope that helps if you have never done anything like this before. Don’t be afraid! It is fun, simple and the great thing is: You can do nothing wrong :)
Basic idea:
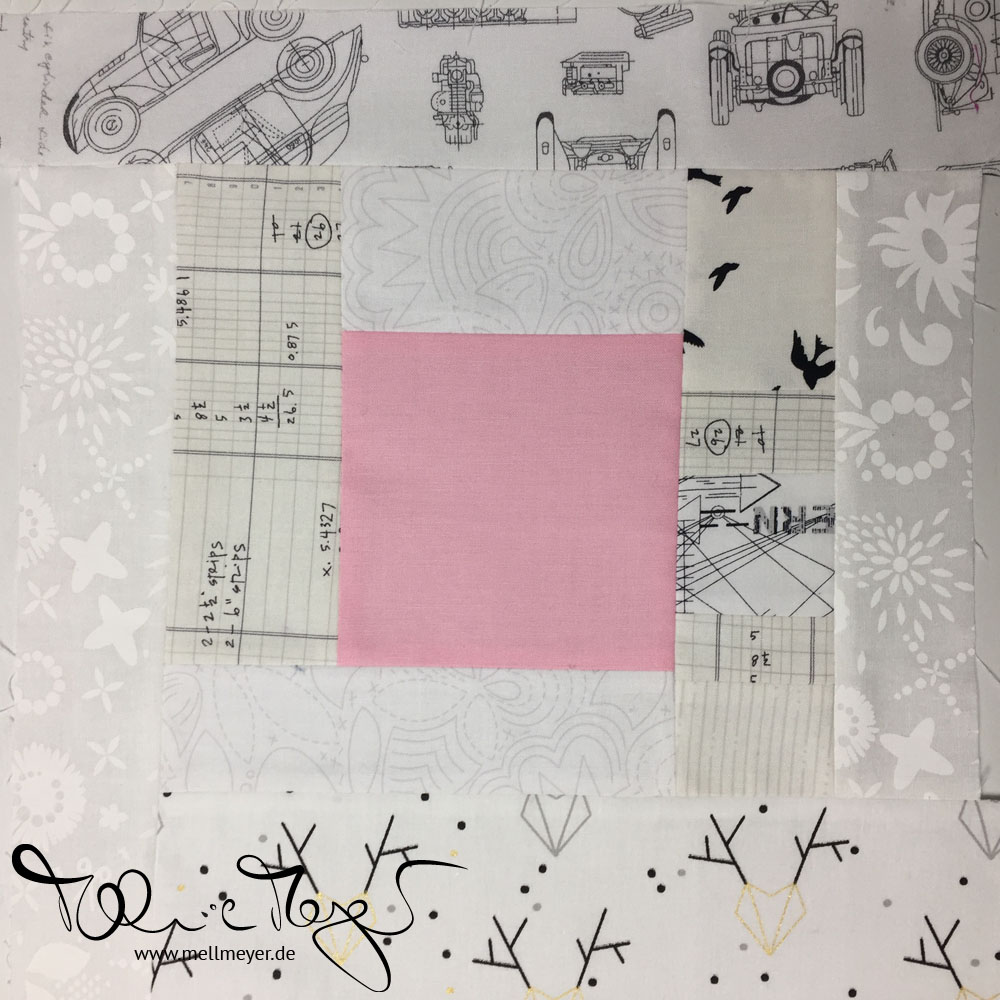
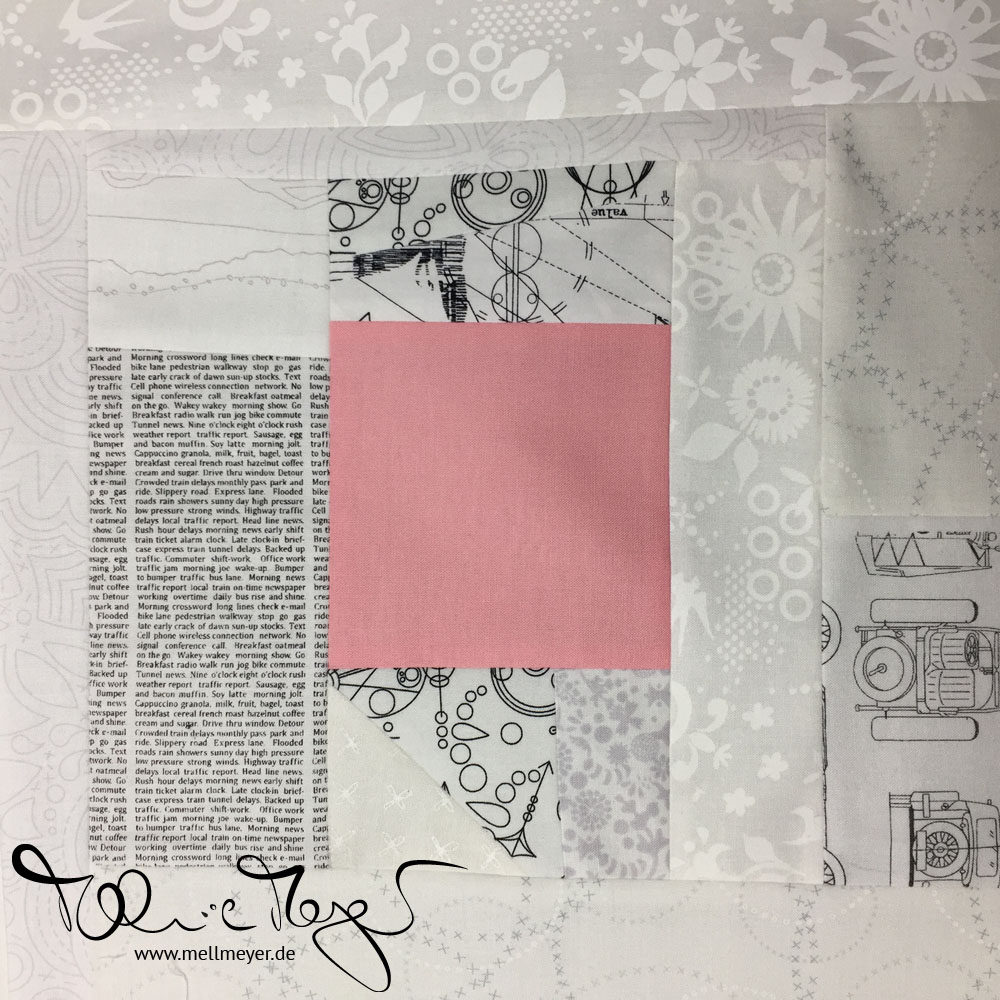
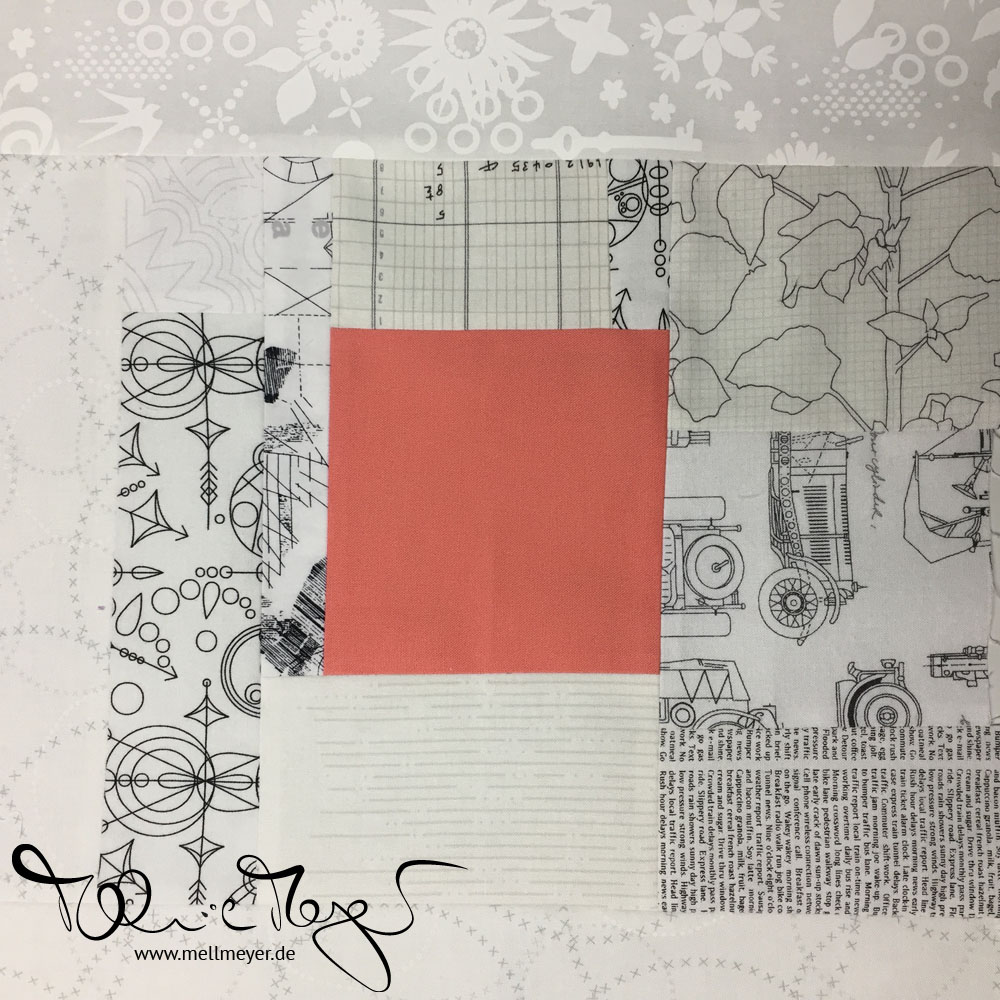
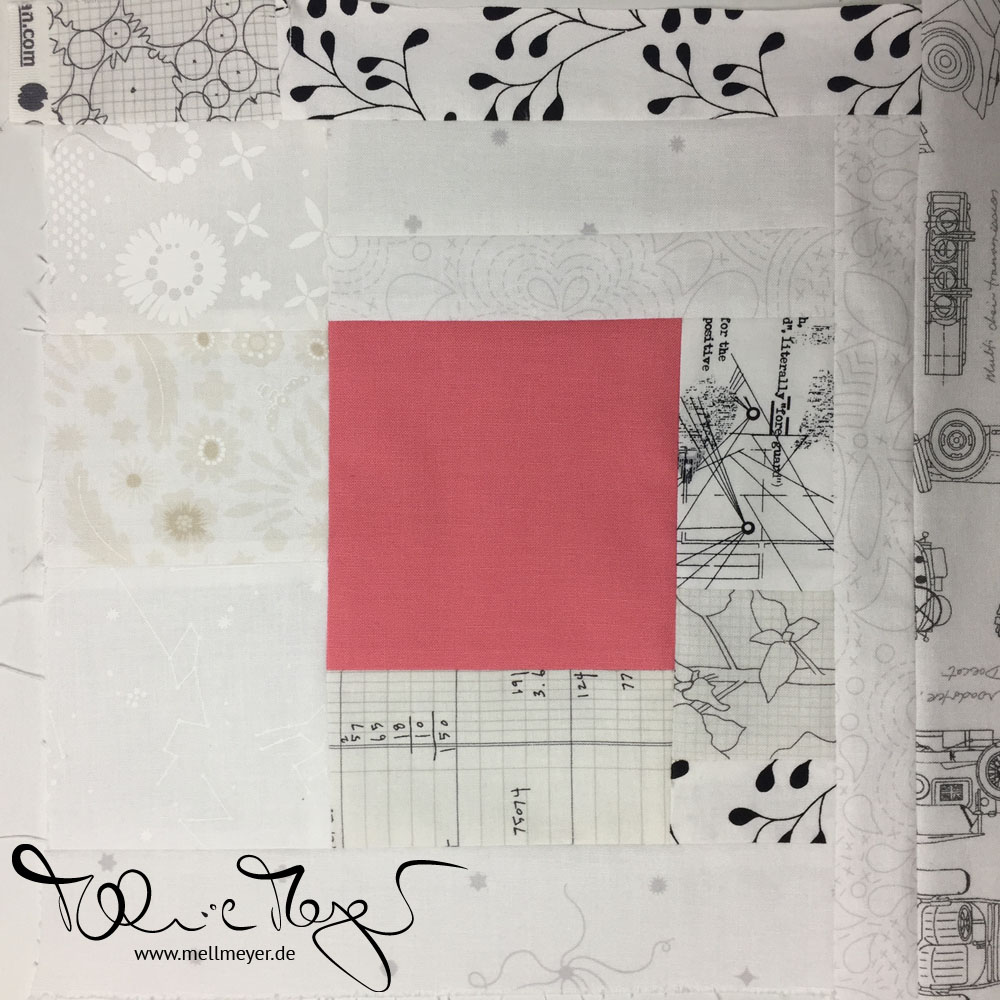
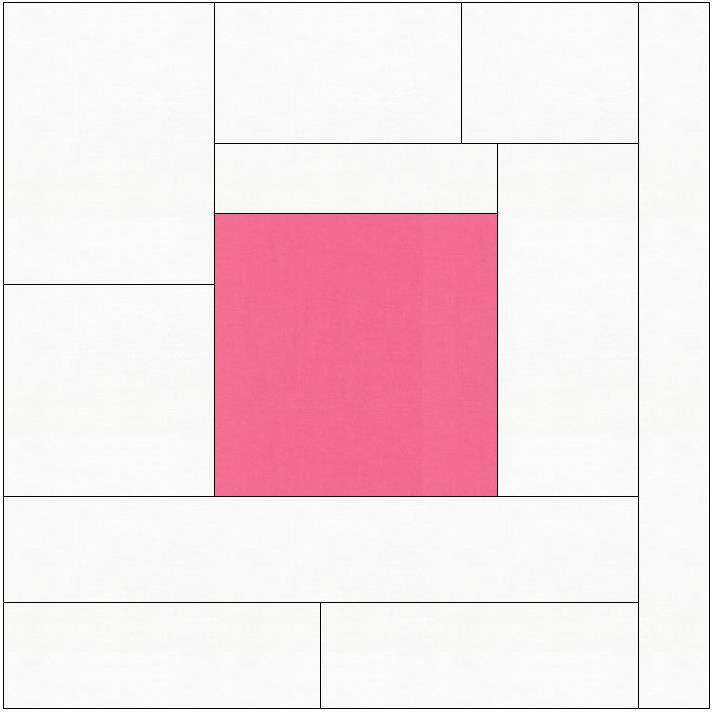
You will add rectangles & strips – they can be one fabric or pieced of multiple scraps – to the charm square until you have about 3.5″ of visible ring fabric added to each side. Then we trim (more about the trimming in the next section) the whole block down to 10.5″ (10.0″ finished) making sure we center the charm square.
A few of my blocks:
Click on any image to see all pictures in full | as a slideshow.
I try to use a few pieced parts and strips in all my blocks to give it a very scrappy and also overall similar look.
When using this technique I am always reminded of sewing log cabins or courthouse step blocks. The only difference is that you do not need to add you next rectangle/strip to a specific spot but can choose whatever side you want :)
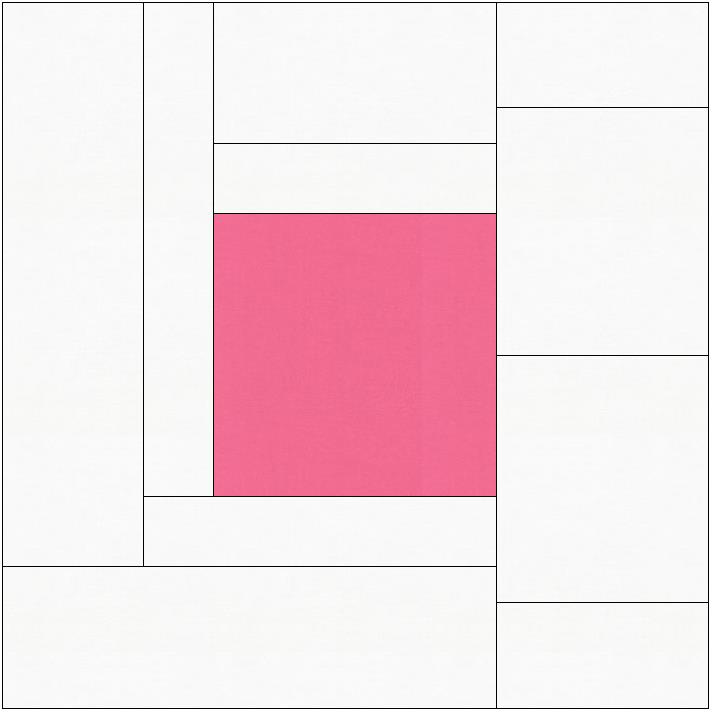
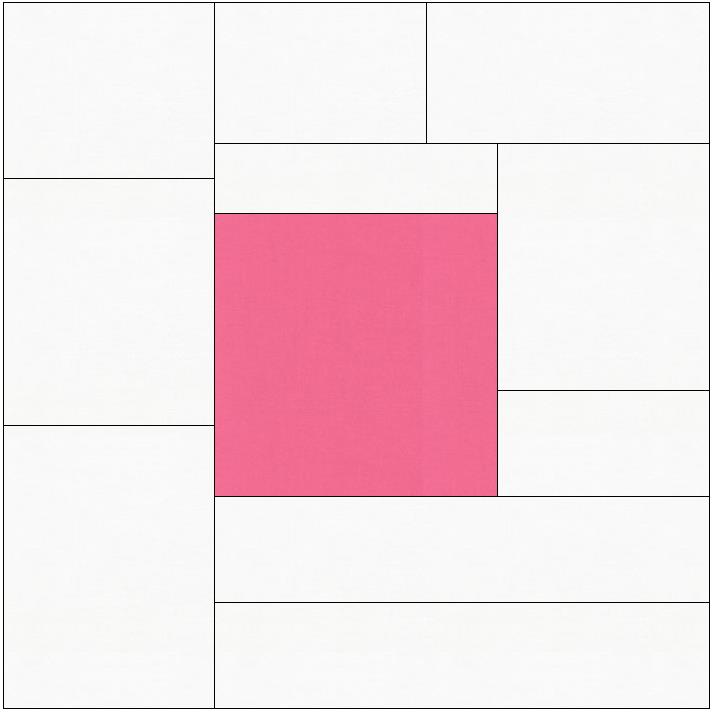
And some more graphics…
… to demonstrate the idea. The description below is the order in which you add rectangles/strips. As with my own blocks, a few of them are single fabric or pieced (P).
 Top, top, bottom, bottom, right (P), left, left (P).
 Top, top, left, bottom, left, bottom, right (P).
 Top, right (P), top (P), bottom, bottom, left (P).
 Top, right, top (P), left (P), bottom, bottom (P), right.
Starting Square:
Because I am personally (so far) not very fond of the pinked edge that charm squares so often are cut with, I trimmed by charm square to 4.5″. But you can also start with the full size charm of 5.0″.
I will give you trimming instructions for both options in the next section.
Tip:
Because of the improv character you cannot lock (backstitch) your seams because you do not know where you will trim next. So I always use a very tiny stitch length on improv piecing, hoping that will add some additional stability and keep the seams from unraveling.
Trimming
How to square up your blocks
As mentioned above, I started my blocks with a trimmed to 4.5″ charm square. The pictures and the measurements further on are for this version. If you start your blocks with a full 5.0″ charm square, please follow the numbers in brackets (x).
First Step
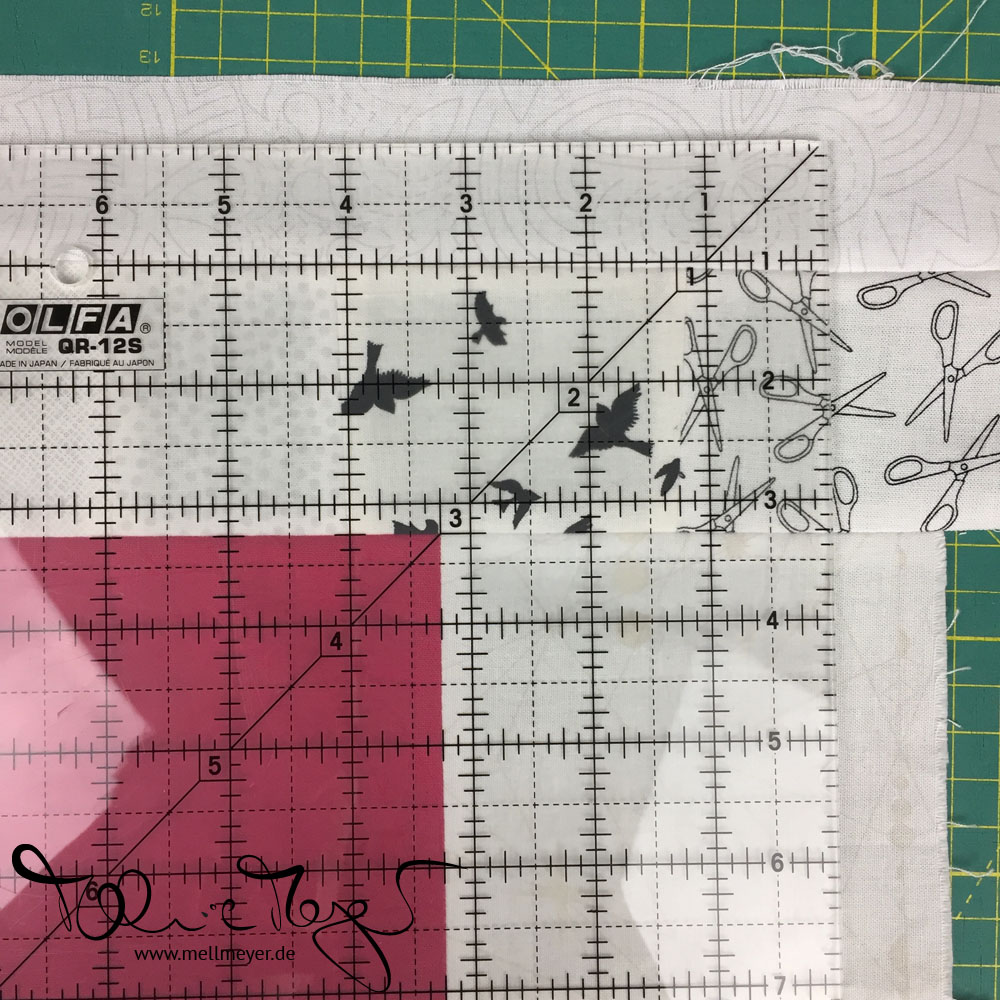
I use two steps to square up my blocks. In the first step I cut the right side and across the top. Those are the two sides that you can easily cut without “cutting into yourself”. And the ruler placement is determined by the necessary width of my block ring.
4.5″ Charm Square Version –> 3.25″
(5.0″ Charm Square Version –> 3.0″)
Math Detour: My center square is 4.5″ unfinished, so that is 4.0″ finished. I want my finished block to be 10.0″ so I need a background of additional 6.0″ in total. Divided by 2 for the two sides that is 3.0″ finished on each side. But we need to remember the seam allowance and calculate for 10.5″ unfinished. So 3.25″ it is!
The trimming is easiest if you have a bigger than 10.5″ (square) ruler. But you can also do it with your normal one, you will just need to place it twice! In the second step you would use the inch markings on the mat. Though cutting because of the markings on your mat is not as precise as using a ruler!
Place your ruler so that the 3.25″ (3.0″) marks are on the line between the charm square and the block ring. See picture! Cut the right and the top access off.
Second Step
In the second step I turn my block 180°. Now my straight/nice edges are on the left and bottom and the edges that I still need to cut are once again on the right and top. I do now trim to the final size of 10.5″ unfinished.
If you sewed perfect ¼ inch seams, it is the same as repeating the step from above. But in case your center square distorted slightly, you will have the most accurate base this way and a mini deviation is not visible for the “naked eye” in your finished quilt but will make the next step easier :)

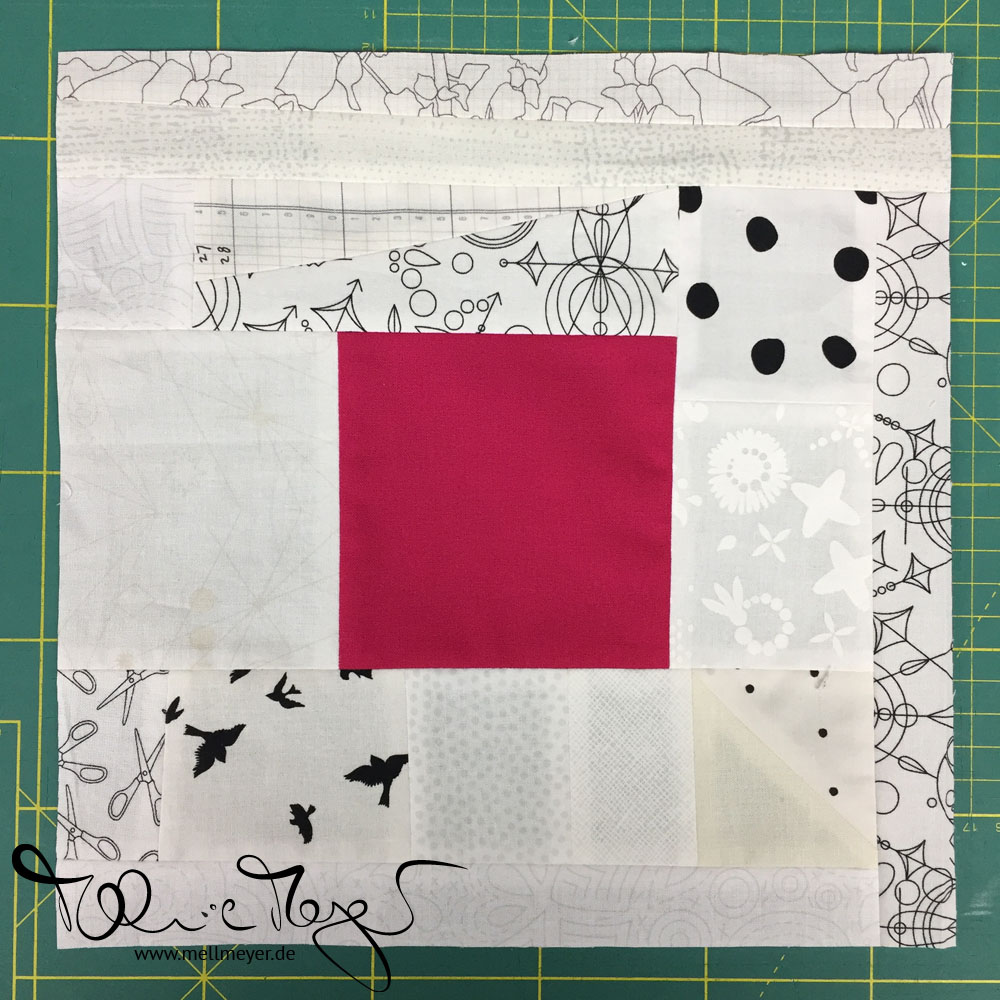
And here is the trimmed block :)
So that is it for this week. Next week we will talk about two ways of doing the sashing and the rest of assembling the quilt.
I hope you enjoyed the tutorial and will join me with your own projects. Please share your progress on social media using the hashtag #mm_charmscrappy & #mellmeyer_pattern. Feel free to tag me @mellmeyer. I look forward to seeing you posts!
Best wishes
xo Melanie

Oh my goodness, Mell. It must have taken you two days to write this detailed a tutorial!!! I used to think that you took the best pictures. I am now amending that statement to say you write the best tutorial with best pictures!!! See you soon :-)