I hope you got all your preparations done – whatever they were – and are ready to dive into cutting your fabric.
The prompt for this week is of course showing off your fabric pieces. I have to say, that I found that quite challenging so I am curious how you will display them. It is always so fun to see other creatives at work!
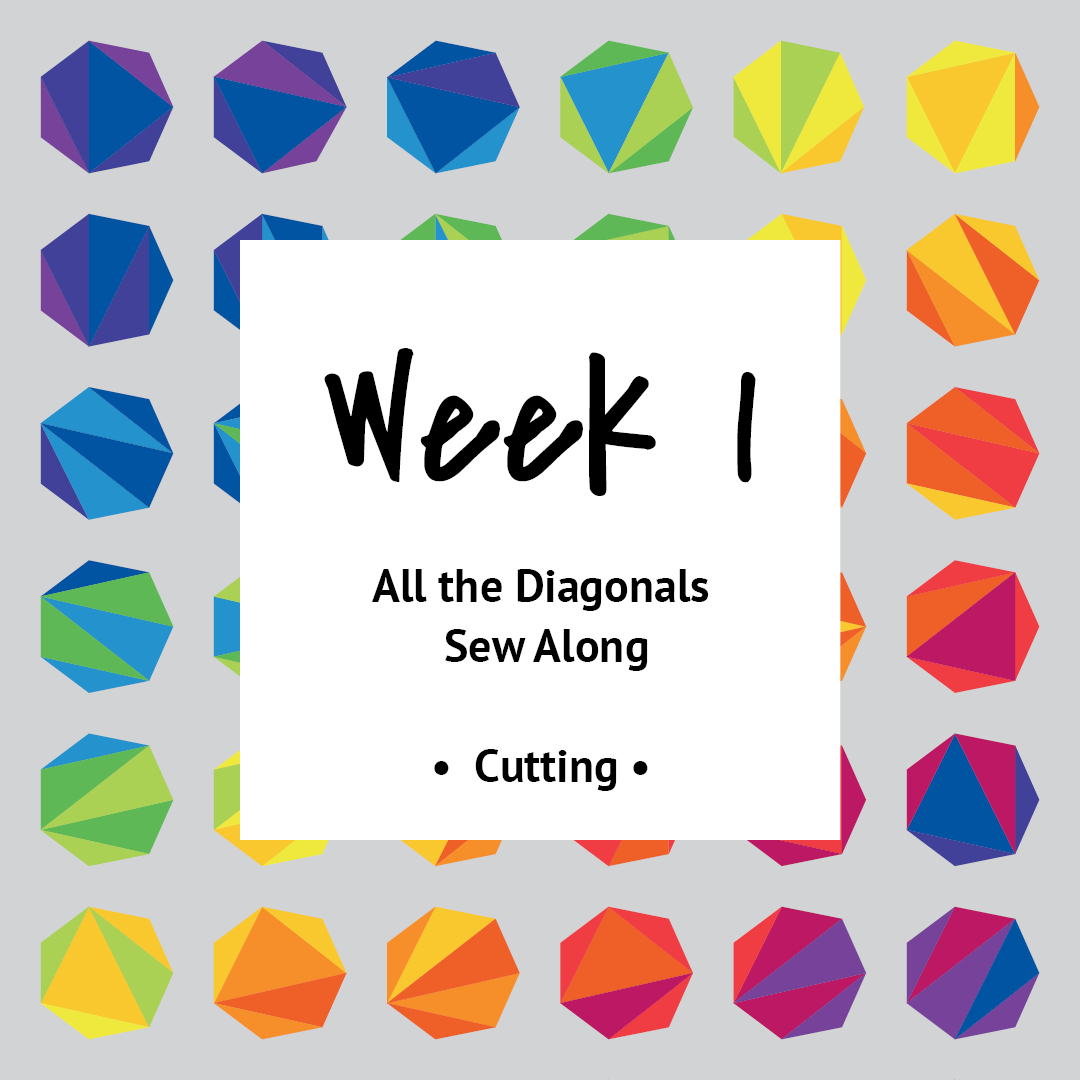
This post is part of the All the Diagonals Sew Along! See all posts.
Important!
Before you start please make sure, you have downloaded the newest version and/or check the corrections page.
Task
This week’s progress
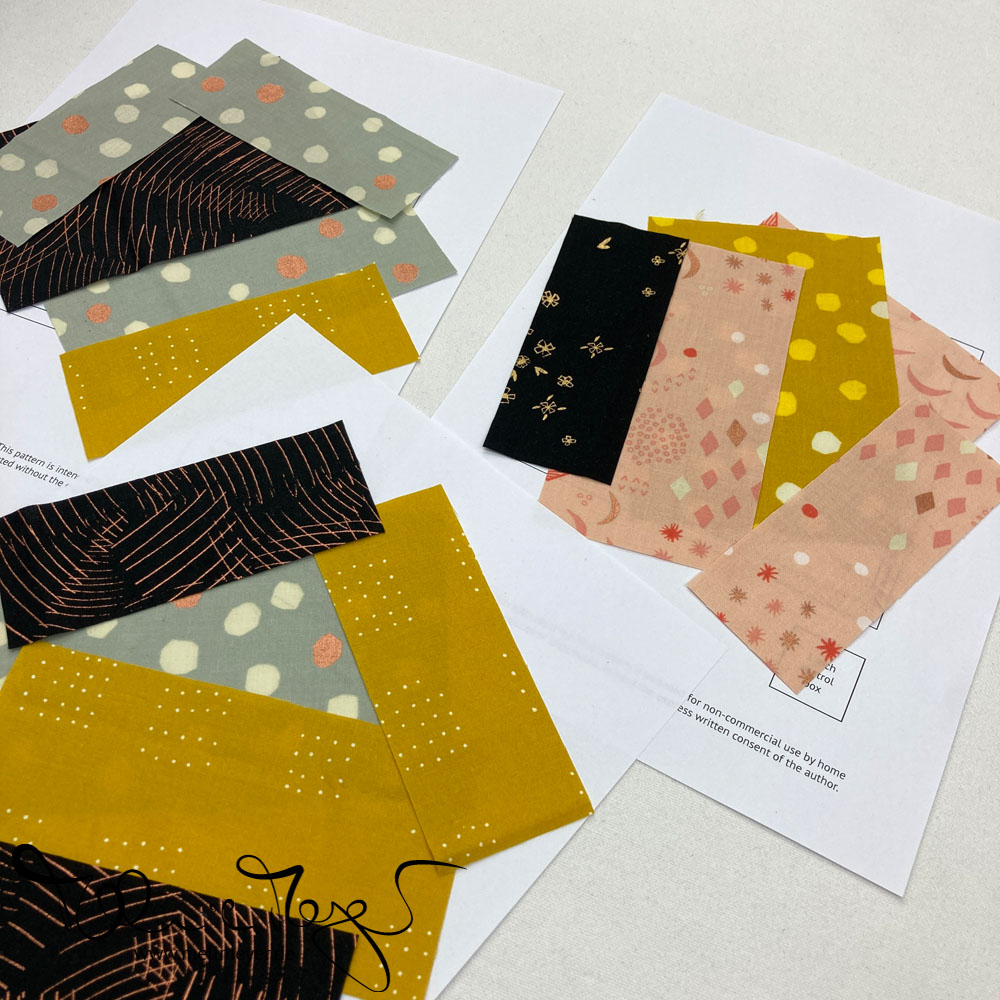
I cut all my fabrics and arranged them on my window sill. I could fit almost all the pieces there, making it the perfect solution for me.
But if you are tight on horizontal space, you could also – after cutting all your pieces – stack them on the template as needed. Then you can stack those pages including the relevant fabric pieces and put the whole thing into a box. And voila you have a set ready to go whenever you want to sew.
However I might want to caution you that this will not work as well for batch-piecing. But it would work especially well if you set up your sewing, cutting, and ironing stations all reachable around you. Like in an L- or U-shaped setting.
Tips & Tricks
These are the usual candidates but always great to get the reminder…
New blade!
I would highly advise to use a new blade in your rotary cutter. This is pretty logical and common knowledge, but sometimes we forget but it makes our lifes so much easier. With a new blade you could also stack a few of your fabrics and cut multiple blocks at a time. This saves much time but only works well with a new blade.
Starch?
Also if you want to, you can slightly starch your fabrics before cutting. It will keep them more stable. I have first heard about this from Alyssa @ Pile o’ Fabric. But I guess there are a few more posts out there if you want to read up.
I am a fan of starching fabrics for normal piecing but skip this step when doing FPP. It is a controversial topic – similar to pre-washing your fabrics. Do whatever you prefer!
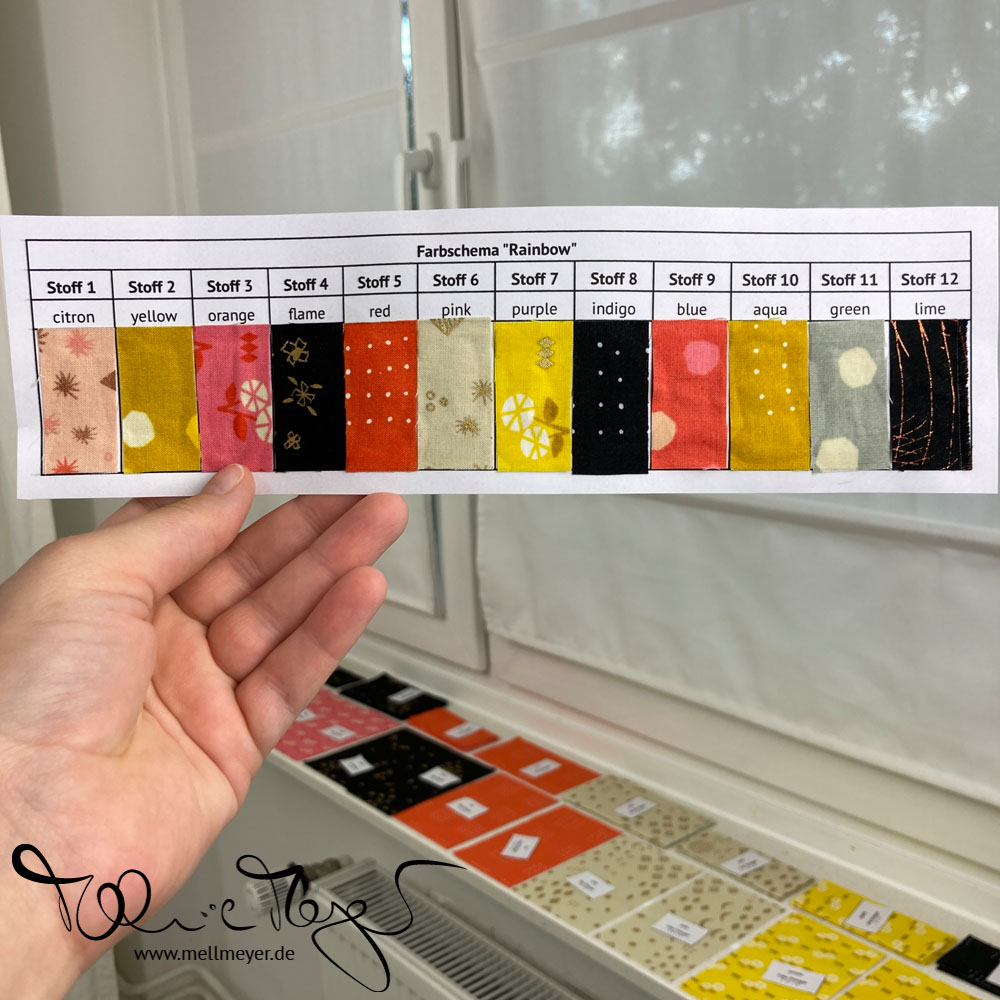
Color Chart!
I would urge you to stick fabrics to the color chart to have at the ready for double checking later. This is expecially true for the “Rainbow” colorway and even more relevent when using a mixed up collection – like I did.
Community
My Instagram Highlights
And here are some highlights from last weeks fabric selection task.
Now I am hoping to see all your beautiful fabric pieces/ cutting progress up on Instagram. Remember to use the #mm_allthediagonals. Due to current changes with the hashtag feeds, please also tag me directly @mellmeyer. And leave a comment on the weekly Sew Along post on my feed so that everyone else can find you too!
See you next week!
Best wishes
xo Melanie