
After seeing this colorcard on instagram, I always wanted to make one myself. Now I finally managed to take the time. And I took some progress pictures. So here comes my first mini tutorial :)
Please read through the whole tutorial before starting. I made some notes on steps I might do different next time. If you have questions, feel free to ask!

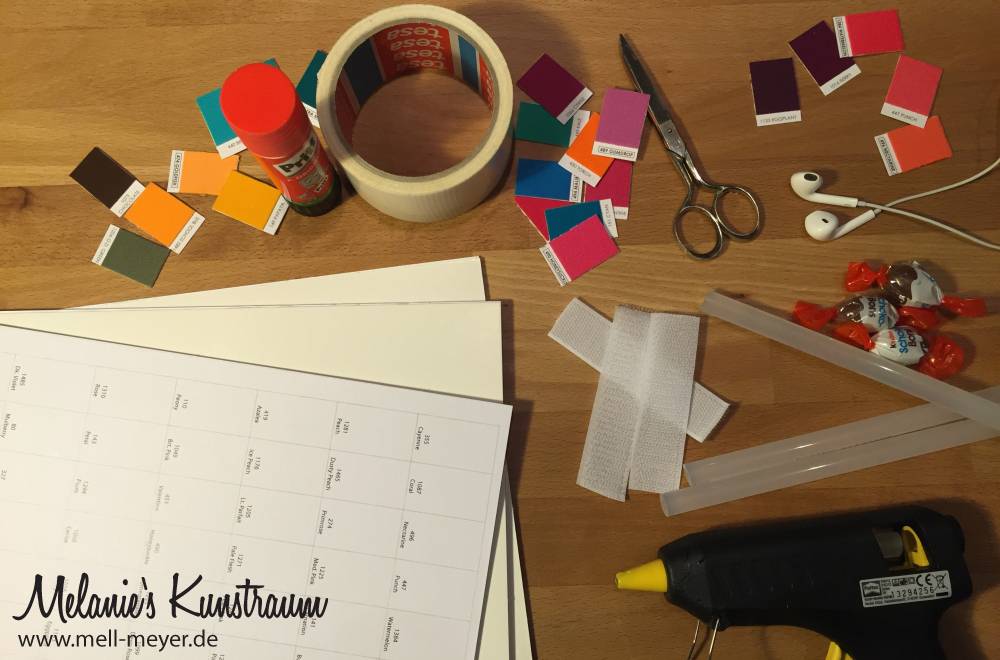
You will need:
– your Kona Cotton colorcard #OfCourse
– 6 A4 Sheets of cardstock*
– the printouts
– glue stick
– lots of velcro
– hot glue gun and a lot of glue sticks**
– scissors
– duct tape
– your cutting mat and rotary cutter
– patchwork ruler
* I used 1mm thick presentation paper/ cardstock.
** I think I used about six sticks.
You will find useful:
– some music
– and lots of chocolate
So let’s get started:
1. Printouts
Print out these A4 placement sheets. If you want to arrange your colors differently you can make your own placement table and print it.
2. Glue printouts to cardstock
Glue those print outs onto the cardstock with your normal glue stick/ school glue.
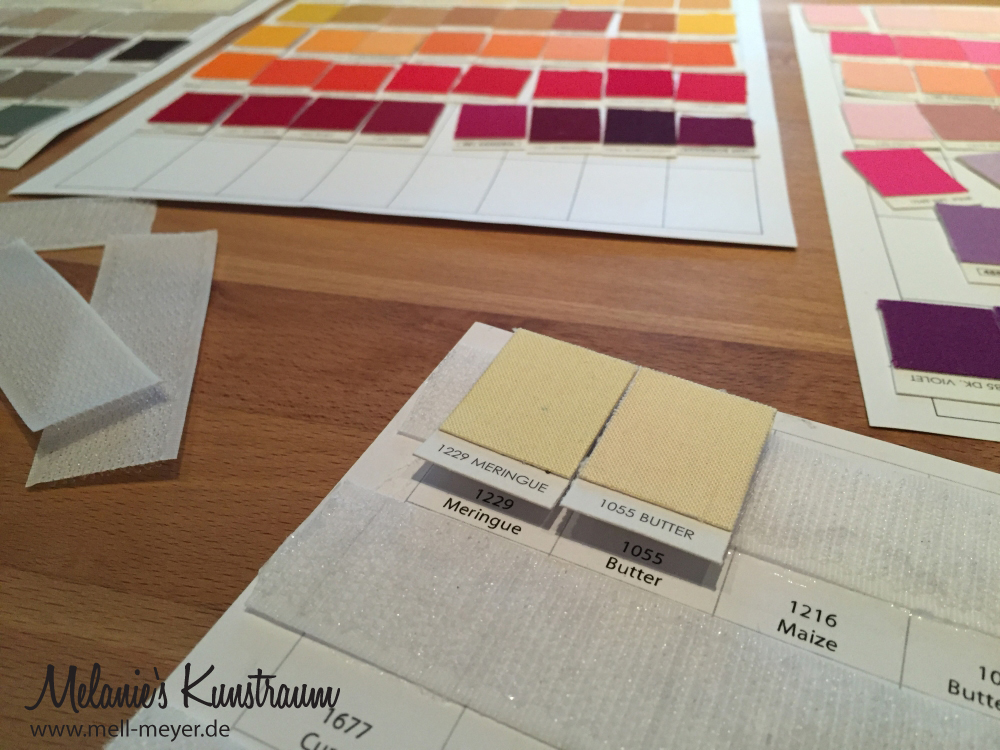
3. Glue velcro strips to the paper
Cut the rough side of the velcro into strips just shortly smaller than the width of the paper. Glue the strips with the hot glue gun onto the cardstock.
*** I first tried that with normal glue but that was a total disaster. The hot glue worked a lot better!
I used the rough side for the colorcard so that I could glue the soft side to the “fabric chips”. So if I want to match them to fabric, they are soft and won’t agitate the fabric they come in contact with.
An inbetween picture, where I tried out if the hot glue was strong enough. So don’t get confused why I have fabric chips here and an unconnected color card.
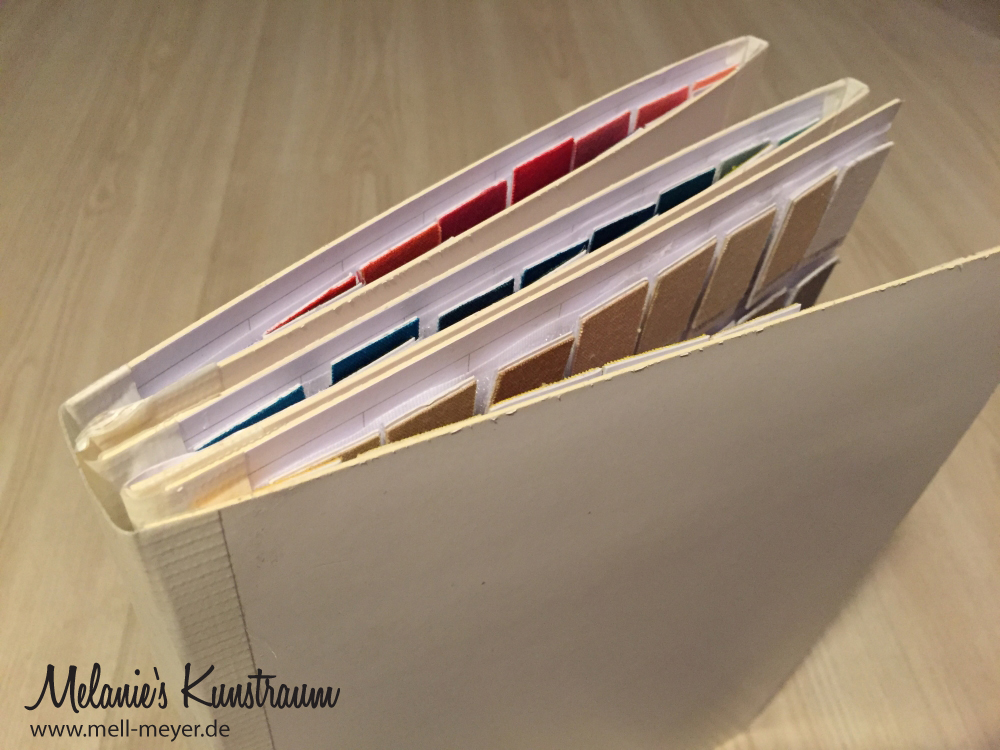
4. Connect the A4 cardstock sheets with duct tape.
I left a wide gap between the first and the second page and small gaps between the other pages.
I always leave a quite small gap when taping papers together, so that you can fold them more easily. In this project the gap needs to be more than just a millimeter because of the thickness of the cardstock plus the “paint chips” we will put in later.
The first gap is as wide as possible with my 5 cm wide duct tape. For the following gaps I made my duct tape smaller by cutting off 2 cm.
**** At the end of the post are two pictures of my colorcard folded up. Hope they help to visualize this “hard to explain step”.
I always press the duct tape to the first sheet with its left edge directly to the outer right line of the placement table. For the second to fifth gap I then cut of 2 cm. After that I aligned the pages on my cutting mat and carefully “pulled” the duct tape (and the paper it’s already connected to) forward so that the right edge of the duct tape is aligned with the left line of the next placement table. Be careful that the paper top and bottom are aligned. The cutting mat is a great help with this as you can align both bottom or top edges of the papers on a line :)
Then turn the colorcard over and put another strip of duct tape over the connection from the other side.
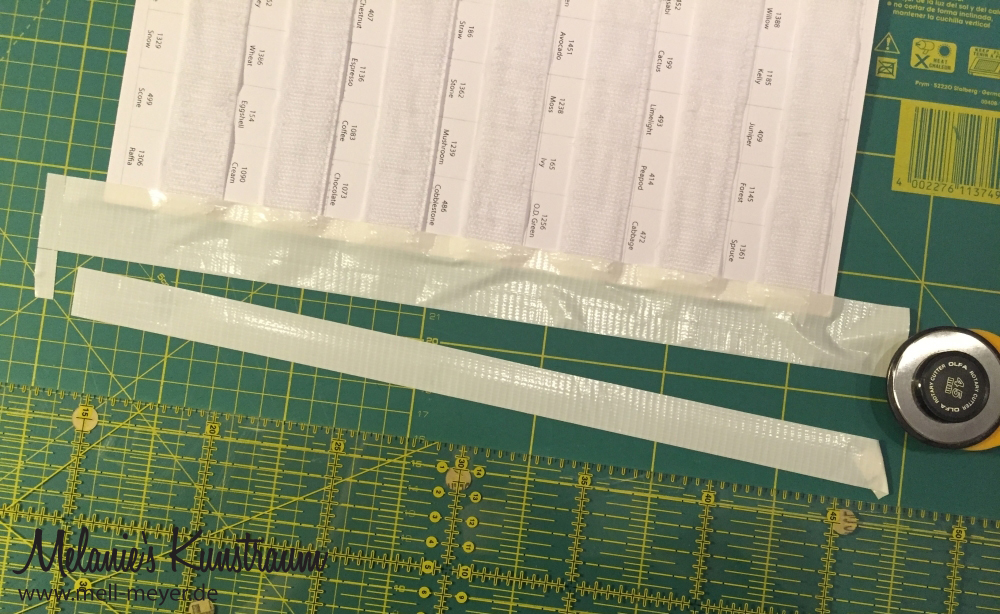
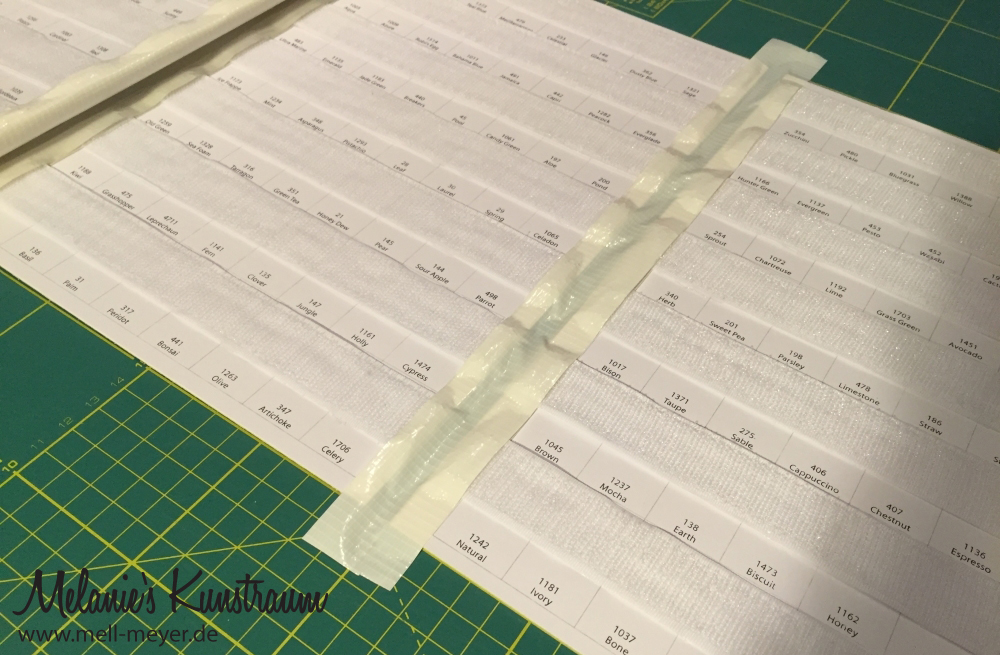
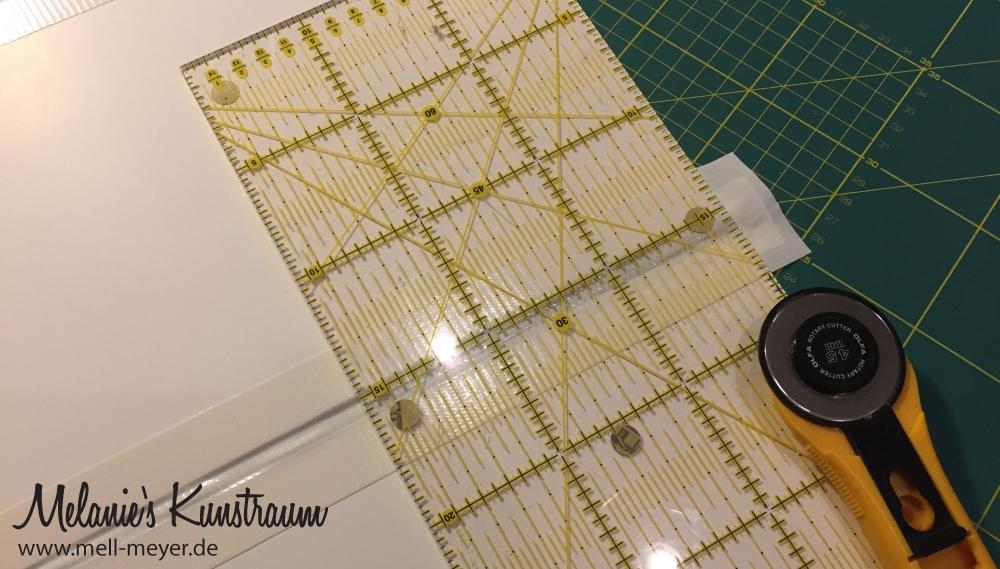
If you were successful in keeping the paper well align than you can cut of the access duct tape with your ruler. If one or two sections are not so perfect and a bit off, don’t worry, just cut the access of as best as possible with your scissors.
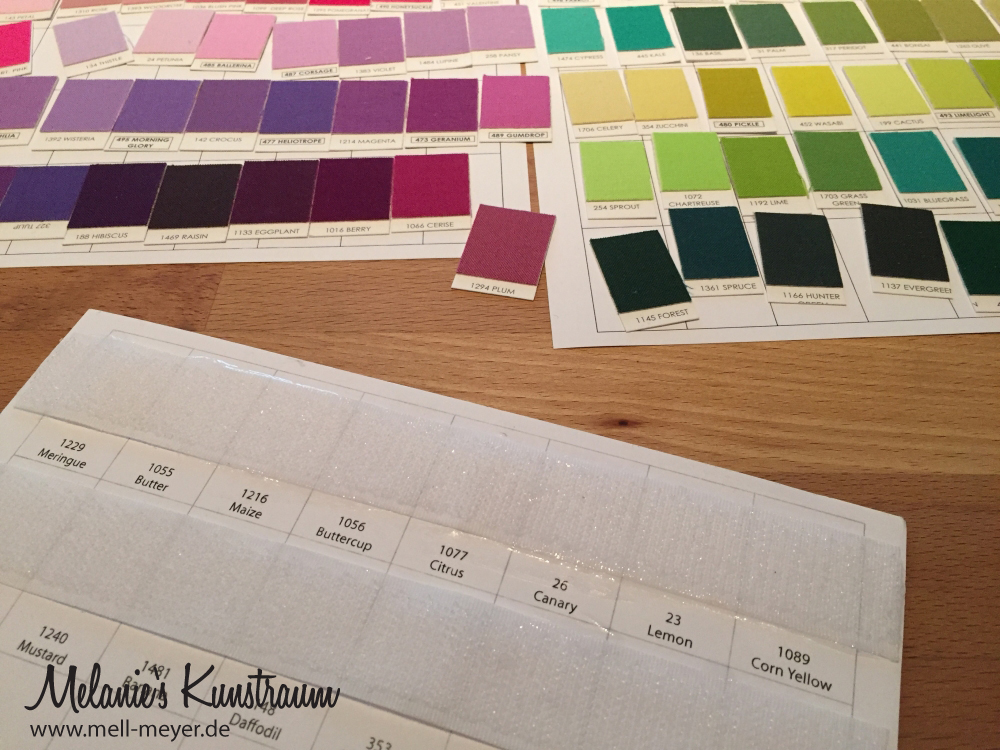
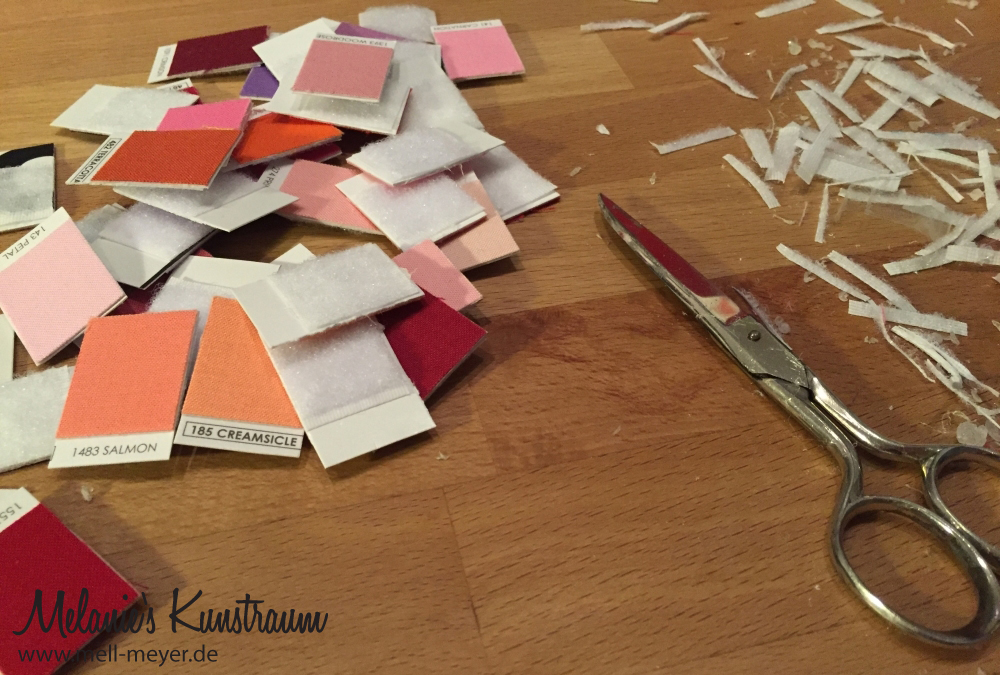
5. Make the “fabric chips”
I cut up the whole kona cotton card and glued small bits of velcro (the soft side) to each fabric chip. I always glued the velcro to the top of each chip – meaning the the velcro was smaller than the chip and I glued it to the top (where the fabric is) and left the text without velcro. Some fabric chips will have the text on top, I ignored that and just turned them upside down so that all chips have fabric on the top and text at the bottom.
As there are 303 (!) colors this took quite some time.
**** I think I would go a lot faster, if you tried not cutting up the whole card but just the segments. Glued the velcro to the top part of each segment and then cut out the fabric chips. If you try that out, leave a comment and tell me if it worked :)
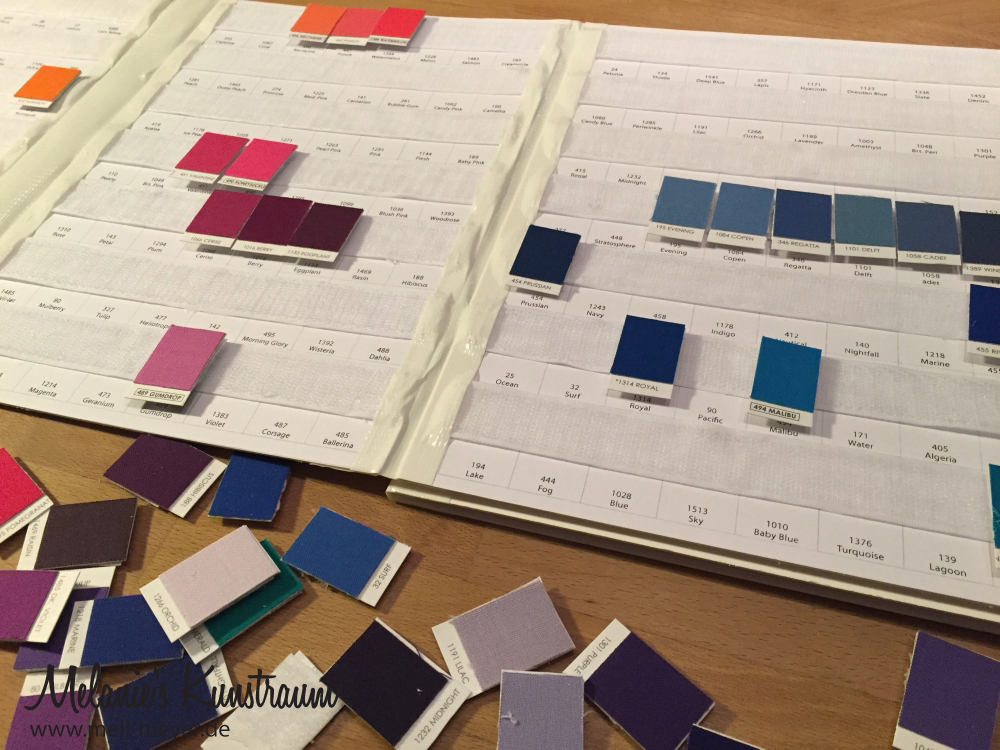
Start adding your fabric chips to the color card.

6. Enjoy!
You have done quite some work, so enjoy!

Linking up at WIP Wednesday @ Freshly Pieced und Let’s Bee Social #98 @ Sew Fresh Quilts


WOW! Well done, well explained and so VERY useful! Thanks so much.
Wow, this is amazing. I need to work up the courage to cut up my card because it would be so much more useful. I wonder, would self-adhesive velcro work, or is it not strong enough to stay on the fabric chips?
Hey JanineMarie, thanks for the reminder. I wanted to google that as well. I have never heard of self-adhesive velcro but I thought that it would make the job a lot (!) easier. If there is such a thing and you muster up the courage to do your card – can you tell us how it worked out?
Great tutorial! I’ll have to try this when I get a free moment!
If you work with a lot of solids, this is the perfect thing to audition all your fabric possibilites… great idea! Kona’s are my fav!
Well… I’m starting to think you can be motivated to anything with chocolate! ; )
Pingback: 2015 im Rückblick
This is a great tutorial and fabulous alternative to buying two color cards and cutting one up. :-)
Congratulations on your first tutorial and thank you for the top notch how to.
Adhesive backed velcro worked very well for me. I created a bunch of additional pages so I can rearrange the chips into different colour spectrums and colour palettes. I used a 3-hole punch and keep the pages in a binder. I plan to make more colour chips using comic book cardboard (normally used when storing comics in plastic sleeves.
I didn’t have the 303 kona card to cut up. Mine had 243 colours so I have some blanks. When When I buy fabric that is one of the 60 colours not in my swatch book, I will make swatches and add them. It’s like collecting stickers!!
I will purchase the 303 color card and instead of cutting it up, I will use a piece of cardstock with a chip-sized rectangle cut out when coordinating colours.
Looking forward to your next tutorial, Emma